
The 6WMM7 series motherboards include 6WMM7(using 82810-DC100 chipset), 6WMM7-1(using 82810 chipset) and 6WMM7-E(using 82810E chipset). This manual contains information on motherboard installation, setup and troubleshooting.
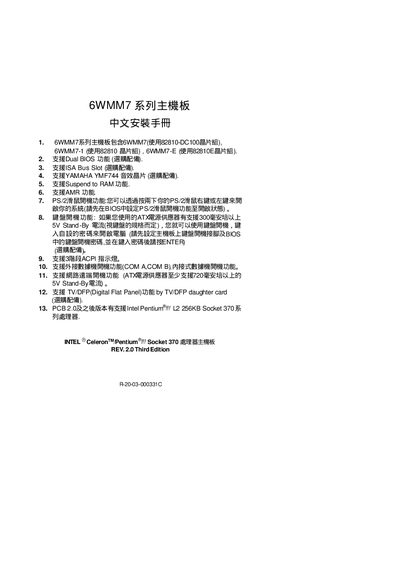
This guide provides step‑by‑step instructions for installing the 6WMM7 series motherboard, including CPU frequency configuration, jumper settings, and peripheral connections. It also explains BIOS features such as Dual BIOS, PS/2 power‑on, and Suspend to RAM.
Additional sections cover CMOS/RTC battery maintenance, IDE and ATAPI device installation, and troubleshooting tips for power LEDs, reset jumper usage, and speaker connections. This manual is written in Chinese.
| Supported Chipsets | 82810-DC100, 82810, 82810E |
|---|---|
| CPU Socket | Socket 370 |
| Dual BIOS Support | Yes (optional) |
| ISA Bus Slot | Yes (optional) |
| YAMAHA Audio Chip | YMF744 (optional) |
| Suspend to RAM | Supported |
| CMOS Battery Life | Approximately 5 years |
Set the PS/2 power‑on option in the BIOS to enabled, then you can start the system using the PS/2 keyboard.
Shorting the Reset jumper forces a reset without turning off the power, allowing the system to restart immediately.
The CMOS battery typically lasts about five years; after that the clock and date may drift and need replacement.
Yes, CPU frequency and multiplier can be set via BIOS and the JP18‑JP33 jumpers, but settings must match the CPU specifications.