
Seagate FireCuda Gaming Dock user manual covering port layout, setup, Toolkit, NVMe SSD installation, safe removal and regulatory compliance.
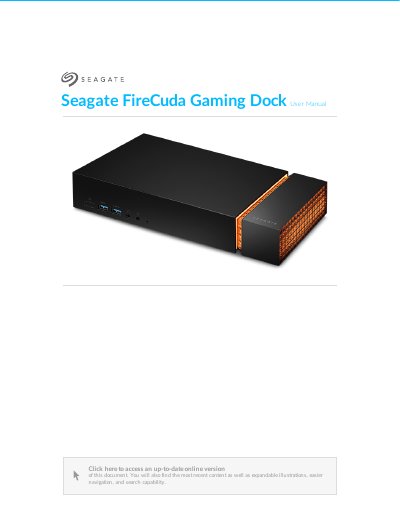
This user manual describes the Seagate FireCuda Gaming Dock, a Thunderbolt 3 powered hub that connects a desktop setup such as a keyboard, mouse, USB headset, webcam and display monitor through one Thunderbolt 3 cable. The guide lists the box contents (FireCuda Gaming Dock, power supply, Thunderbolt 3 cable), the minimum system requirements, and a front and back view of the ports with the meaning of each status LED color.
Setup steps explain how to connect the power cable and the Thunderbolt 3 cable, approve the Thunderbolt device prompt in Windows, register the device and install Toolkit. Later chapters cover managing LED color and backup plans with Toolkit, installing an NVMe SSD expansion drive, optional formatting and partitioning, safely removing the dock from the computer, and China RoHS and Taiwan RoHS compliance.
| Host port | Thunderbolt 3 |
|---|---|
| Peripheral Thunderbolt 3 port | For daisy-chaining Thunderbolt devices or a single non-Thunderbolt USB-C device |
| DisplayPort | DisplayPort 1.4 |
| USB ports | USB 3.1 (Gen 2) Type A |
| Charging USB port output | 7.5W/5V/1.5A |
| Audio ports | 3.5mm audio-out and 3.5mm audio-in/mic |
| Network port | RJ45 ethernet |
| Operating system | Windows 10 or higher |
| Minimum free disk space | 600MB recommended |
| Regulatory model number | SRDRG01 |
The computer needs a Thunderbolt 3 port, Windows 10 or higher, and 600MB of recommended free disk space.
Functionality is limited: lower performance, no support for the NVMe SSD expansion drive, and the USB port may not support the DisplayPort function.
Remove the end cap, remove the protective plate, remove the mounting screw, insert the NVMe SSD card, then replace the screw, protective plate and end cap.
Click the Safely Remove icon in the Windows System Tray, choose the device, wait for the notification that it is safe, then disconnect it.