
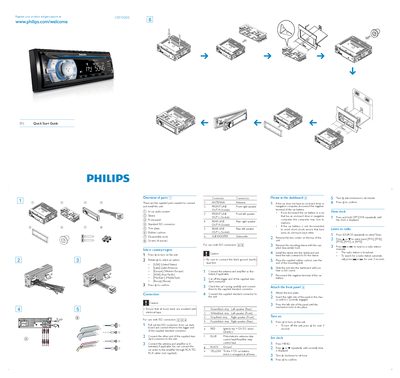
This Quick Start Guide provides the essential steps to install, connect, and operate the Philips CEM2000 in‑car audio unit. It lists the supplied parts, shows how to mount the unit in the dashboard, and explains basic functions such as power on, clock setting, and radio tuning.
Key sections cover selecting the region, wiring the ISO connector, connecting speakers and antenna, and using the control buttons to turn the unit on, set the clock, and listen to FM/AM stations.
| Power supply voltage | +12 V DC (ignition key) when ON/ACC |
|---|---|
| Connector type | Standard ISO connector |
| Supplied parts | Sleeve, front panel, ISO connector, trim plate, rubber cushion, disassembly tools, 4 screws |
| Speaker connections | Front right/left, rear right/left, subwoofer via FRONT LINE, REAR LINE, SUBWOOFER sockets |
| Ground lead color | BLACK |
Press the @ button to turn the unit on; hold the button for over 3 seconds to turn it off.
Press MENU, then use the & or W button to display the current time, rotate the @ knob to set hour and minute, and confirm with @.
Remove the top screws, insert the sleeve, place the rubber cushion on the mounting bolt, slide the unit into the dashboard until it clicks, then reconnect the battery.