
The Dell™ E-Port User’s Guide describes how to set up and use the Dell™ E-Port.
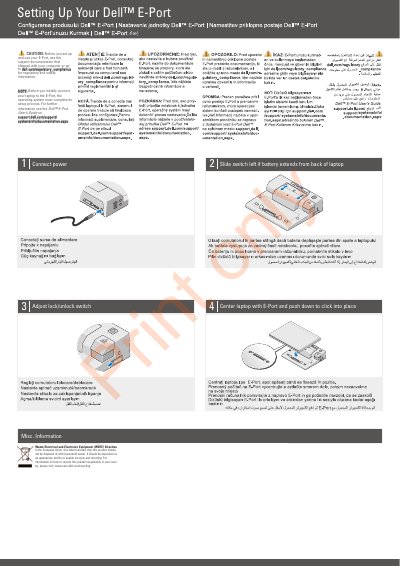
This two-page Dell E-Port setup sheet shows how to get a laptop connected to the E-Port. It lists the four steps: connect power, slide the switch left if the battery extends from the back of the laptop, adjust the lock/unlock switch, and center the laptop with the E-Port and push down until it clicks into place.
The sheet also includes a numbered part list for the E-Port, a WEEE disposal note for the European Union with a recycling web address, and a caution pointing to the support documentation shipped with the computer or to dell.com/regulatory_compliance for regulatory and safety information. It notes that the operating system must complete its setup process before the laptop is connected to the E-Port for the first time.
Center the laptop with the E-Port and push down until it clicks into place.
The operating system must complete its setup process before the laptop is initially connected.
See the support documentation that shipped with your computer or go to dell.com/regulatory_compliance.
Slide the switch to the left.