
The Dell™ E-Port User’s Guide provides information on how to set up and use the Dell™ E-Port.
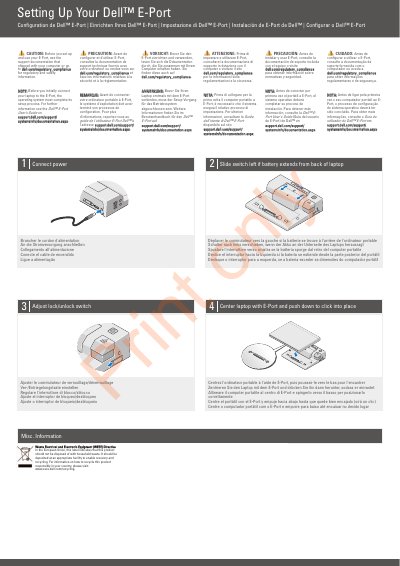
This printed quick setup guide from Dell explains how to set up the Dell E-Port docking station. It instructs users to read the regulatory and safety documentation first, and notes that the laptop's operating system must complete its setup process before the laptop is connected to the E-Port for the first time.
The illustrated setup steps cover connecting power, sliding the switch left if the battery extends from the back of the laptop, adjusting the lock/unlock switch, and centering the laptop on the E-Port and pushing down until it clicks into place. A second page identifies the controls (battery bar adjuster, alignment mark, power button, eject button, security cable slot, docking connector) and the rear connectors, including network, audio, USB, AC adapter, Display Port, DVI, VGA, eSATA and E-Monitor Stand connectors. The guide is printed in English, French, German, Italian, Spanish and Portuguese, and includes WEEE disposal information for the European Union.
| Network connector | 1 |
|---|---|
| Audio connectors | 2 |
| USB connectors (rear) | 3 |
| USB connectors (front) | 2 |
| Video outputs | Display Port, DVI, VGA |
| eSATA connector | 1 |
| E-Monitor Stand connector | 1 |
| Security cable slot | Yes |
The operating system must complete its setup process before you initially connect your laptop to the E-Port.
Slide the switch to the left if the battery extends from the back of the laptop.
Center the laptop with the E-Port and push down until it clicks into place.
See the support documentation that shipped with your computer or go to dell.com/regulatory_compliance.