
This document describes how to use EZSwitchSetup to install and configure a Brocade 7800 switch
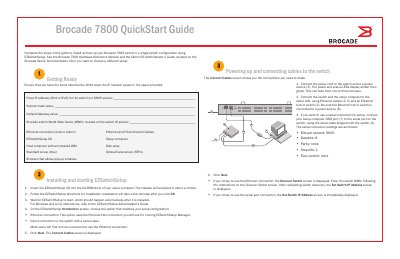
This document provides instructions for completing the installation and setup of a Brocade 7800 switch. It covers powering on the device, connecting cables (Ethernet or serial), and installing the EZSwitchSetup software to configure the switch IP address and WWN.
The guide details the steps within the EZSwitchSetup wizard, including selecting connection types, discovering the switch, setting parameters like passwords and time zones, configuring zones, and physically connecting host and storage devices via SFP transceivers.
| Serial connection settings (Bits per second) | 9600 |
|---|---|
| Serial connection settings (Databits) | 8 |
| Serial connection settings (Parity) | none |
| Serial connection settings (Stop bits) | 1 |
| Serial connection settings (Flow control) | none |
You need a Fixed IP address, Subnet mask value, Default Gateway value, Brocade switch World Wide Name (WWN), Ethernet and Fibre Channel Cables, EZSwitchSetup CD, Setup computer, Host computer with an installed HBA, Disk array, Standard screw driver, Optical transceivers (SFPs), and a Browser that allows pop-up windows.
Yes, most users find it more convenient to use an Ethernet connection, but if chosen, you must connect your setup computer COM port to the serial port on the switch using the shipped serial cable.
It can take from one to three minutes for the power and status LEDs to change from amber to green after connecting the power cord.