
This is a Trimble product installation guide, which mainly introduces the product's usage methods.
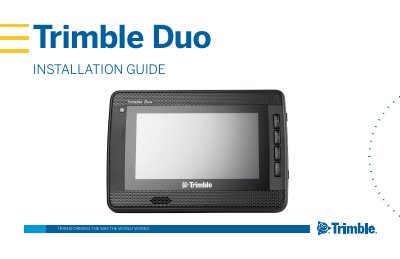
This document provides installation instructions for the Trimble Duo, a vehicle diagnostic display device. It details the contents of various installation kits (Base, Standard, OBD-II, etc.) and describes the system overview including display, audio, and video connections.
The guide covers hardware installation steps, including mounting the device and connecting cables. It also explains how to use the hard reset button for troubleshooting and provides cable pin-out diagrams for the 9-Pin Pass Through and Diagnostic Plug connectors.
| Input Voltage | 12V |
|---|---|
| Input Current | 1.5A |
| FCC Class | Class B digital device |
| Minimum Body Distance | 20cm |
The device requires an input of 12V at 1.5A.
Open the top access panel on the right side and hold the hard reboot button.
The Duo 9-Pin Pass Through Connector Cable is recommended for most vehicle installations.