
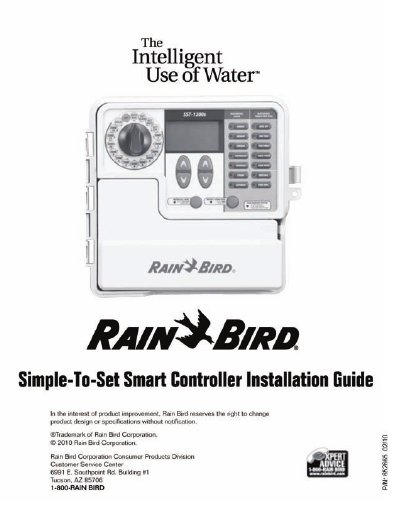
Rain Bird SST Series Smart Controller Installation Guide


Rain Bird SST Series Smart Controller Installation Guide - cover page
Brand
RAINBIRD
Category
Automation control Equipment
Document type
Installation Guide
Language
English
Pages
10
File format
PDF
File size
1.4 MB
Published
09 August, 2012
Updated
09 August, 2012
MD5 checksum
1A0549AFCB81295F577E26D80BA78F2C

About this manual

This guide provides instructions for installing the Rain Bird SST Series Smart Controller. It details the necessary supplies and tools, including specific wire gauges for different run lengths, and explains how to mount the controller to a wall near a power outlet and weather sensor.

What's inside

  • What is an Automatic Sprinkler System
  • Supplies and Tools
  • Mounting your Controller to the wall
  • Wiring with Conduit
  • Connecting the Valve Wires: Common
  • Connecting the Valve Wires: Control
  • Connecting Weather Sensor
  • System Check Out
  • Master Valve or Pump Start Relay

Specifications

Power Input110 VAC
Wire Gauge for runs less than 800 feet18 gauge
Wire Gauge for runs greater than 800 feet14 gauge
Weather Sensor Wire Length25 feet
Maximum Splice Wire Length200 feet
Master Valve/Pump Relay Current Limit0.650 Amps at 24 VAC, 60 Hz

Frequently asked questions

Can the SST Controller be mounted indoors or outdoors?

Yes, the SST Controller can be mounted INDOOR or OUTDOOR.

What is the recommended distance for the weather sensor?

The weather sensor should be located within 25 ft. of the controller.

How do I test if each zone is functioning properly?

Turn the dial to the desired ZONE and press WATER 1 ZONE NOW to start watering for a default 10 minutes.

Download PDF (1.4 MB)

More RAINBIRD Manuals


View all RAINBIRD manuals →