
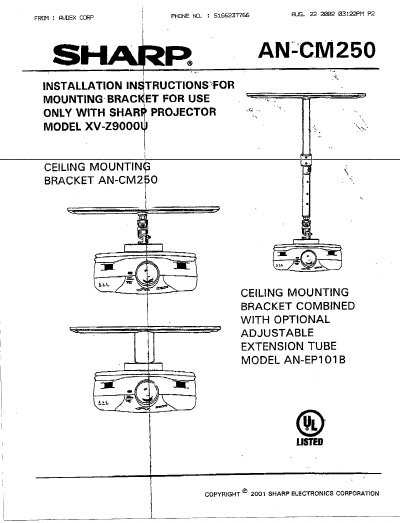
This document provides installation instructions for the Sharp AN-CM250 adjustable ceiling mounting bracket. It details the necessary tools, safety precautions regarding beam support, and step-by-step procedures for installing the metal ceiling plate and plastic trim cover.
The guide further explains how to detach the positioning assembly from the attachment plate, attach it to the projector, and secure the final assembly to the ceiling plate using locking nuts and washers. It also includes specific dimensions and measurements of the bracket components.
| Ceiling Plate Width | 4" |
|---|---|
| Ceiling Plate Length | 18" |
| Thread size of swivel shaft | 1/2" X 20 |
| Distance from ceiling to bottom of projector | 13 1/16" |
| Length of position adjustment knuckle assembly | 3 5/8" |
Installation should be performed by qualified service/installation personnel.
The bracket mounting screws must go directly into the beams; sheetrock, lath, and plaster are not sufficient.