
This document introduces the system requirements and configuration steps of Intel Rapid Start technology. The technology requires Windows 7 SP1 operating system and SSD hard drive with a larger capacity than the system memory. In addition, the Intel Rapid Start feature needs to be enabled in the BIOS settings, and only AHCI and RAID modes are supported. The main storage disk partition needs to be created in the disk management tool, and the Intel Rapid Start dedicated disk partition needs to be specified using the DiskPart command line options. Finally, the Intel Rapid Start technology should be enabled in the BIOS settings, and the corresponding application should be installed.
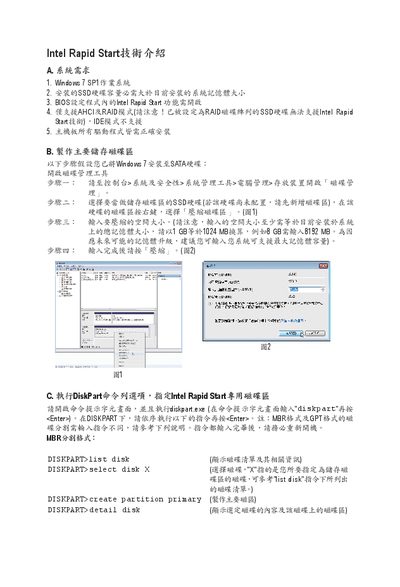
The guide provides step‑by‑step instructions for enabling Intel Rapid Start Technology, including BIOS configuration, creating a dedicated SSD partition, and using DiskPart commands to set the partition type. It also details the installation of the Rapid Start software and how to adjust the wake‑up timer.
In addition, the document covers Intel Smart Connect Technology, showing how to enable the feature, edit the registry whitelist for applications, and set the update interval. The final sections describe Intel Smart Response Technology, its hardware requirements, and how to configure SSD caching modes. This manual is written in Chinese.
| Supported Operating System | Windows 7 SP1 |
|---|---|
| Supported Storage Mode for Rapid Start | RAID (AHCI not supported) |
| Maximum Smart Response Cache Size | 64 GB |
Enter the BIOS by pressing Delete, go to the Peripherals menu, and set "Intel Rapid Start Technology" to Enabled.
The SSD partition must be at least as large as the current system size, e.g., 8 GB (8192 MB).
Both Intel Rapid Start and Smart Connect require Windows 7 SP1.
In the Smart Connect settings you can choose an update frequency between 5 minutes and 60 minutes; the default is 15 minutes.