
This is a user manual for a wireless router product. Users can learn about product connection methods, usage methods, feature characteristics, etc. through reading this manual.
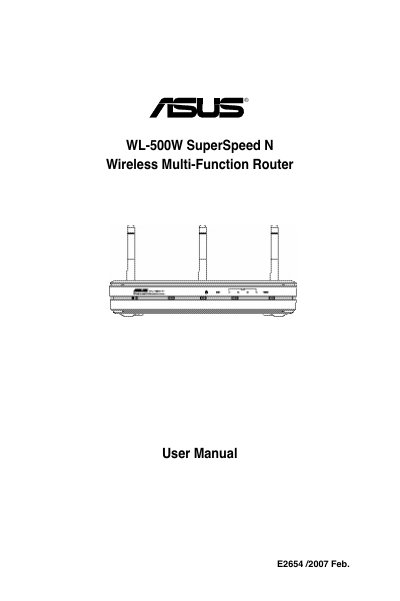
This manual covers everything you need to get the ASUS WL-500W router up and running, from the package contents and hardware connections to status indicators and wall‑mount installation. It explains how to connect the router to an ADSL modem, use the Ethernet ports, and mount the unit on a wall or flat surface.
The guide also details the web‑based configuration interface, default IP settings, wireless setup (including SSID and encryption), DHCP, virtual servers, bandwidth management, and the ASUS EZSetup utility. Step‑by‑step instructions show how to access the router at http://192.168.1.1, log in with the default credentials, and customize advanced features such as FTP sharing and USB printer support.
| Default IP address | 192.168.1.1 |
|---|---|
| Subnet mask | 255.255.255.0 |
| Auto‑crossover Ethernet ports | Supports straight‑through or crossover cables |
Open a web browser and go to http://192.168.1.1, then log in with username “admin” and password “admin”.
The router’s default IP address is 192.168.1.1, with a subnet mask of 255.255.255.0, gateway 192.168.1.1, and DNS 192.168.1.1.
Locate the two mounting hooks on the underside, mark the holes, tighten screws until 1/4" shows, and latch the hooks onto the screws.