
This manual is the user manual of Philips SPC2050NC network camera, introducing the characteristics of the network camera, installation, use, common problems, etc.
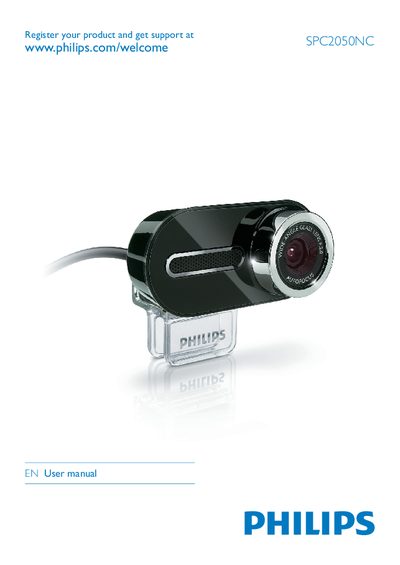
This manual introduces the Philips SPC2050NC WebCam, lists the contents of the package, and gives a functional overview of the camera’s hardware features such as the snapshot button, rotating foot, and built‑in microphones. It also outlines system requirements and safety precautions for proper use.
The guide walks you through installing the software, connecting the camera, and configuring settings via the Philips CamSuite application. Detailed instructions cover image quality adjustment, audio setup, fun effects, and how to reset the device to factory defaults. A technical data section and FAQ provide specifications and solutions to common issues.
| Sensor | 2.0 MP CMOS |
|---|---|
| Real video resolution | 2.0 MP |
| Real still image resolution | 2.0 MP |
| Interpolated still image resolution | 8.0 MP |
| Frames per second | 90 fps |
| F-number | 2.0 |
| Lens view angle | 70 degrees |
| Lens construction | 5 elements, glass |
| Autofocus | Yes |
| Minimum subject illumination | < 2 lux |
| Data format | YUY2, MJPEG |
| Interfacing | USB 2.0 UVC |
| USB cable length | 80 cm |
| Microphone | Two digital built‑in |
| Power supply | 5V, 0.5A via USB |
Open the Philips CamSuite control panel, go to the Video tab, and adjust the gamma and brightness sliders to your preference, then click OK to save the settings.
In Windows, open the Sound control panel and set the Philips WebCam or connected headset as the default recording device, then apply the changes.
Open the Philips CamSuite control panel, select the Video tab, click the Reset button, and confirm by clicking OK.