
This file is the instruction manual of Canon HR-S9500EK VCR
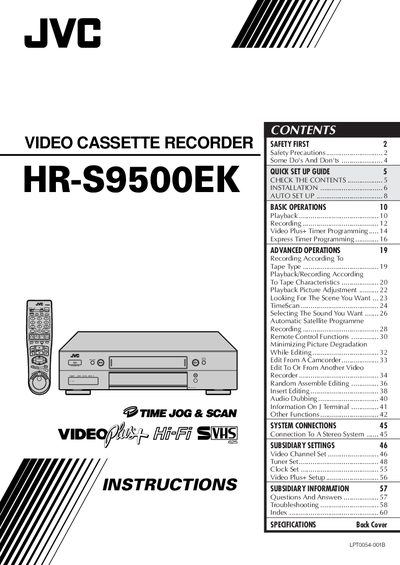
The manual begins with safety precautions, warning about dangerous voltage, proper mains connection, and environmental limits. It also lists do’s and don’ts for handling the recorder, such as keeping ventilation clear and avoiding moisture.
Installation instructions cover connecting the recorder to a TV via RF, SCART, or S‑Video cables, setting the AV1 OUT switch, and performing the Auto Set Up to configure tuner channels, clock and video channel. The later sections describe remote‑control functions, timer recording, and detailed specifications of power, dimensions, recording times and audio/video performance.
| Power requirement | 2 AC 220‑240 V, 50/60 Hz |
|---|---|
| Operating temperature | 15 °C to 40 °C |
| Storage temperature | -20 °C to 60 °C |
| Dimensions (W×H×D) | 437 × 109 × 339 mm |
| Maximum recording time (SP) | 240 min with E‑240 cassette |
| Maximum recording time (LP) | 480 min with E‑240 cassette |
| Horizontal resolution (VHS) | 250 lines |
| Horizontal resolution (S‑VHS) | 400 lines |
| Audio frequency range (Normal) | 70 Hz – 10 kHz |
| Audio frequency range (Hi‑Fi) | 20 Hz – 20 kHz |
| Video/Audio connectors | 21‑pin SCART (IN/OUT × 1, IN × 1) |
| RCA connectors | VIDEO IN × 1, AUDIO IN × 1, AUDIO OUT × 1 |
| S‑Video connectors | IN × 1, OUT × 1 |
Connect the aerial, recorder and TV as described, then use a 21‑pin SCART cable between the AV1 IN/OUT socket on the recorder and the TV’s SCART connector, and set the AV1 OUT switch to the appropriate position.
After connecting power and the TV, press the ON/I button; the recorder automatically sets tuner channels, the clock, and the video channel, a process that usually takes 4–12 minutes.
The recorder can record up to 240 minutes in SP mode and 480 minutes in LP mode when using an E‑240 video cassette.