
Key facts
- Brand
- Schneider
- Model
- ALTIVAR12
- Industry
- Industrial
- Documents
- 2
- Languages
- EN
- Last added
- 2012-03-21
Start here
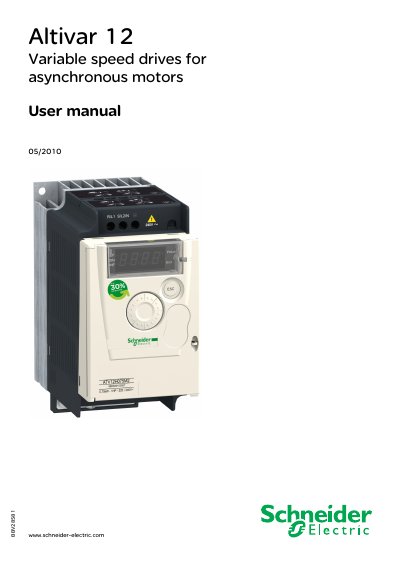
Schneider Altivar 12 Variable Speed Drive User Manual
This user manual covers all aspects of the Altivar 12 variable speed drive, including safety information, installation steps, wiring diagrams, parameter configuration, and maintenance procedures. It is intended for qualified personnel who install, commission, operate, or service the drive.
The document also contains reference tables for drive ratings, dimensions, wiring terminals, and a full parameter index, plus troubleshooting guides and application notes for common motor and pump applications.
Schneider ALTIVAR12 specifications
| Maximum RS485 bus length | 1000 m at 19200 bps |
|---|---|
| Maximum number of stations | 32 stations (31 slaves) |
| Maximum tap link length | 20 m for one tap link |
| Pull‑down resistor value | 450 Ω to 650 Ω at 5 V |
| Line terminator | 120 Ω resistor in series with 1 nF, 10 V capacitor |
All Schneider ALTIVAR12 documents by type
Day-to-day operation, settings and troubleshooting. Start here if the product is already set up.
Instruction set, parameters and examples for configuring or programming the device.
Questions answered in these manuals
What is the maximum length of the RS485 bus for the Altivar 12?
The bus can be up to 1000 m long at 19200 bps when using Schneider Electric TSX CSA cable.
How many slave stations can be connected to the Altivar 12 Modbus network?
Up to 32 stations (31 slaves) can be connected without a repeater.
What safety steps must be taken before servicing the Altivar 12 drive?
Disconnect all power, place a “DO NOT TURN ON” label on power disconnects, lock them open, wait 15 minutes for the DC bus capacitors to discharge, and verify the DC bus voltage is below 42 Vdc before proceeding.
How do I begin the installation of the Altivar 12 drive?
First inspect the drive and verify the part number, then check that the line voltage matches the drive’s rating, mount the drive according to the instructions, wire the motor and power connections with power off, and finally apply power and configure parameters before starting the motor.