
Installation manual for Ricoh StreamPunch Pro, Pro EX, and MP units, covering unpacking, cable connections, foam, brackets, leveling, and final steps.
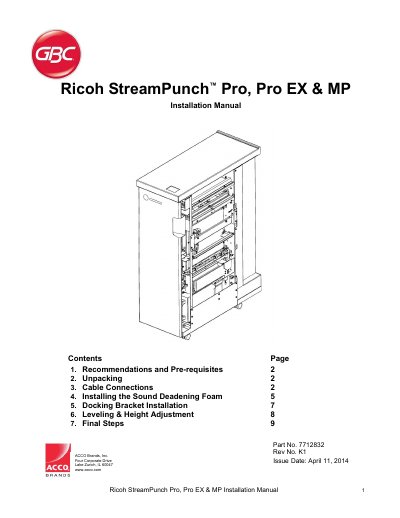
This guide provides step‑by‑step instructions for installing the Ricoh StreamPunch series. It begins with recommendations, required installation kits, and safety precautions, then details unpacking procedures and how to inspect the unit for shipping damage.
Subsequent sections cover cable connections to various printers and finishers, installation of sound‑deadening foam, docking bracket mounting, leveling and height adjustment for uneven floors, and final configuration steps such as firmware updates, dip‑switch settings, enabling the punch icon, and functional testing.
| Sound deadening foam strips supplied | 6 strips |
|---|---|
| Entrance paper guides provided | 2 guides |
| Standard exit guide type | 90‑degree bend (standard) and angled guide |
| Reference height for SR5000 finisher | 4 mm |
| Reference height for SK5010 finisher | 2.5 mm |
The installation kit is provided in the main carton with the StreamPunch unit.
Six strips are supplied loose; peel off the backing to expose the adhesive and apply the strips to the indicated sides of the unit.