
This guide explains how to set up the Ricoh Ri 2000 printer, install ColorGATE Productionserver 10 RIP software, configure network settings, and operate…
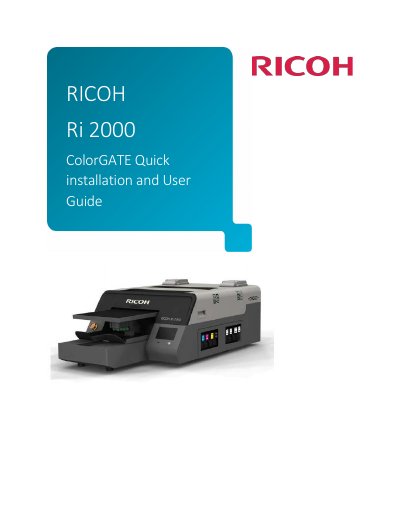
The document walks you through preparing the Ricoh Ri 2000 printer for use, including configuring a static or DHCP IP address, connecting the printer to a PC or network, and installing the ColorGATE Productionserver 10 (PS10) RIP software with its required USB protection key. It also covers user registration, dongle activation, and software installation steps.
After the software is installed, the guide shows how to import MIM files, select media and platen sizes, scale and position graphics, preview the job, and finally print files from the ColorGATE interface.
| Supported RIP software | ColorGATE Productionserver 10 (PS10) |
|---|---|
| Required security dongle | USB Protection Key |
Enter the new IP address and the subnet mask into the printer via the Settings → Options → IP Address menu, then confirm communication with a ping test.
Log in to the ColorGATE website, go to User & Products, select product registration, and enter the number on your USB dongle to complete registration.
Open the Media Size menu under the Printer tab and select the desired platen size (Small, Medium, or Large) from the drop‑down list.