
Quick start guide for setting up and operating a dresden elektronik wireless lighting demo network with RaspBee gateway components.
This guide explains how to set up a demo wireless lighting network using dresden elektronik components such as the StarterKit Wireless Light Control or RaspBee Gateway, Raspberry Pi 3, RaspBee premium, Micro-SD card, and a WLAN router. It covers gateway setup, FLS-PP lp hardware wiring, web interface access, adding and grouping lights, and controlling color, brightness, and white temperature.
It also describes scene creation and editing, time-based alarm and timer events, Ethernet and WiFi access-point setup options, and the default one-minute ZigBee network opening period for adding new lights. This manual is written in German.
| Power supply | 5 V, 1.2 A |
|---|---|
| FLS-PP lp cable cross-section | 0.2–0.75 mm² (AWG24–18) |
| Cable stripping length | 6–7 mm |
| ZigBee network open time | 1 minute (default) |
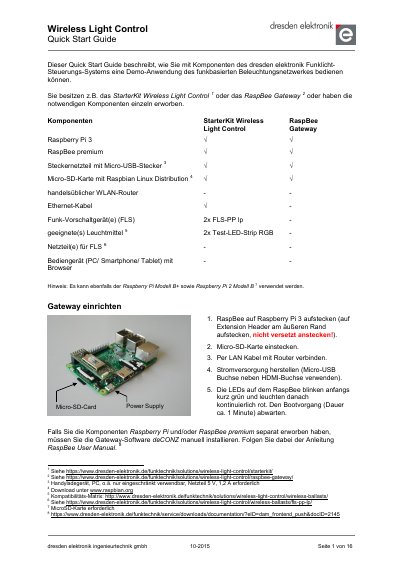
Mount the RaspBee on a Raspberry Pi 3, insert the Micro-SD card, connect it to the router with a LAN cable, apply power through the Micro-USB port, and wait about one minute for boot.
Open a browser on a device in the local network, go to the discover page, click the gateway link, and log in with username delight and password delight.
By default, the network stays open for one minute.
Use conductors with a cross-section of 0.2–0.75 mm² (AWG24–18).