
Quick start guide for setting up dresden elektronik's wireless light control network using RaspBee gateway, Raspberry Pi, and FLS electronic ballasts.
This guide walks you through setting up a wireless light control network using dresden elektronik components like the RaspBee gateway and FLS electronic ballasts. It covers hardware assembly, software setup via web browser, adding lights to the network, grouping lights, controlling color and brightness, creating scenes, and setting up time-based events. The guide assumes you have the StarterKit or purchased components separately and provides step-by-step instructions for initial configuration and operation.
The guide also explains how to configure system settings, including gateway name, time format, login credentials, and enabling third-party app registration. It includes detailed instructions for creating and managing scenes and time-based events such as alarms and timers, with options to adjust brightness levels and fading times. This manual is written in Chinese.
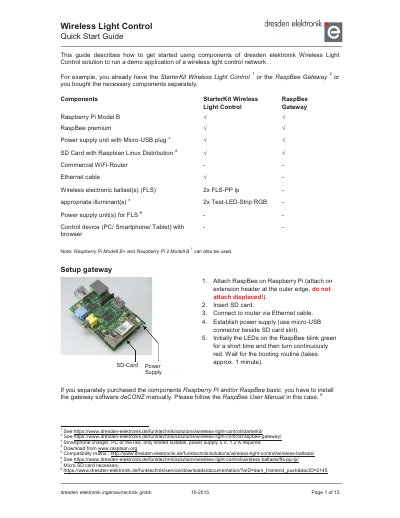
You need the RaspBee gateway, Raspberry Pi Model B, power supply unit with Micro-USB plug, SD card with Raspbian Linux Distribution, commercial WiFi-router, Ethernet cable, wireless electronic ballasts (FLS), appropriate illuminants, and a control device (PC, smartphone, or tablet) with a browser.
Attach the RaspBee to the Raspberry Pi using the extension header at the outer edge, insert the SD card, connect to the router via Ethernet cable, and establish power supply using the micro-USB connector. Wait for the booting routine (approx. 1 minute).
Select Settings in the web app, click Open Network to temporarily open the network, wait for devices to join (indicated by green lights), then click Done. New lights will appear and can be assigned to groups.
Set up lights within the group as desired, press the ’ ... ’ sign, then press Create Scene, assign a name, and press Create to save the scene.