
Step-by-step guide to creating posters in Adobe Illustrator CS3, covering document setup, background, borders, image placement, text formatting, and alignment.
This guide walks users through creating a poster in Adobe Illustrator CS3. It begins with setting up the document dimensions and enabling rulers and grid for layout precision. Next, it explains how to add background color and border using the Rectangle tool, adjusting stroke and fill settings. The guide covers placing images via the Place command, resizing while maintaining proportions, and controlling image opacity. Text placement is detailed using the Type tool, with instructions on font, size, and alignment adjustments. It also explains how to group text and background elements for easier manipulation.
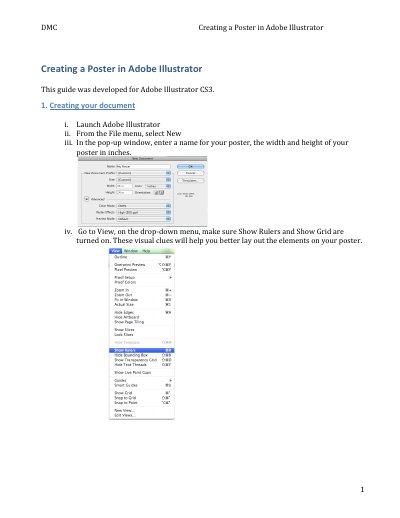
Launch Illustrator, go to File > New, enter the poster’s width and height in inches, then enable Show Rulers and Show Grid under View.
Use the Rectangle tool, set fill to none, choose a stroke color and weight, then draw a rectangle covering the entire poster.
Select the image with the Direct Selection tool, place the cursor over a corner, click and drag to resize. Hold Shift while resizing to maintain proportions.
Select the elements, go to Window > Align, then choose the desired alignment option from the pop-up window.