
The ARC 3000 PRO WELD manual provides safety guidelines, setup instructions, wiring details, and troubleshooting for the stud welding power supply.
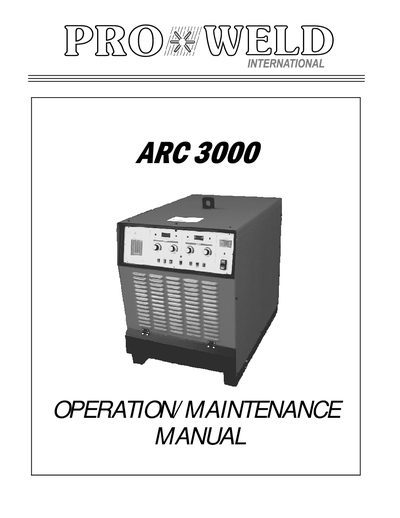
This manual introduces the ARC 3000 PRO WELD stud welding system, covering warranty information, unpacking steps, and essential safety precautions for operators and service personnel. It describes the unit’s general construction, electrical input requirements, and control panel layout.
Detailed sections guide users through weld‑gun setup, welding procedures for H.A. studs, parts identification, and systematic troubleshooting of common faults such as SCR failures, fuse issues, and control‑circuit problems.
| Stud size range | 1/4" to 1 1/4" diameter |
|---|---|
| Power supply | Three‑phase, 60 Hz AC |
| Warranty period (electrical/mechanical) | 1 year |
| Warranty period (PCBs) | 3 years |
All electrical and mechanical components are covered for 1 year, while the printed circuit boards are covered for 3 years.
Operators must treat electricity with respect, disconnect power before maintenance, ensure proper grounding, avoid welding in rain or near flammable materials, and wear protective eye shields and clothing.
The unit runs on three‑phase, 60 Hz AC and can be configured for 230 V, 460 V, or 575 V using jumper links on the input board.
Check for a defective main SCR, blown fuse, incorrect jumper link position, or faulty control boards, then replace the faulty component as indicated.