
This is an assembly instruction for a product, which introduces the assembly steps and precautions of the product
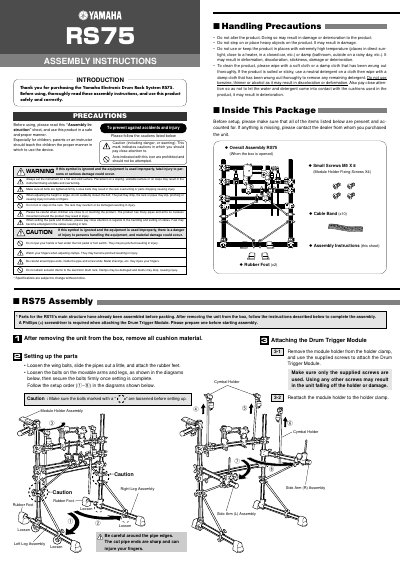
This document provides assembly instructions for the Yamaha RS75 Electronic Drum Rack System. It includes a list of included parts, handling precautions to prevent injury or damage, and step-by-step guidance for assembling the rack structure, attaching module holders, and installing optional drum pads and cymbal attachments.
The guide covers specific procedures such as loosening wing bolts to slide pipes out for rubber feet attachment, securing movable arms and legs, and using supplied screws to attach the Drum Trigger Module. It also details how to arrange optional components like DTX Series triggers, TP65/65S pads, PCY130/130S cymbal pads, and monitor systems (MSS50DR, MS100DR).
A Phillips (+) screwdriver is required when attaching the Drum Trigger Module.
No, you should not attach acoustic drums to the electronic drum rack as clamps may be damaged and drums may drop.