
Velocity Micro NoteMagix M10 is a high-quality, well-crafted notebook
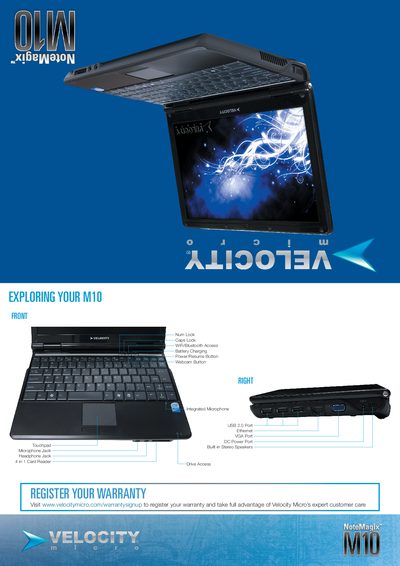
This quick start guide walks you through the essential steps to get your Velocity Micro NoteMagix M10 up and running. It includes instructions for inserting the battery, connecting external power, and turning the notebook on, as well as an overview of the available ports and built‑in features.
Additional sections explain how to register your warranty, connect an optional external optical drive via USB or network sharing, and where to find further support and software installation help on the Velocity Micro website.
| Ports | VGA, USB 2.0, DC Power, Ethernet |
|---|---|
| Audio | Built‑in stereo speakers, microphone jack, headphone jack |
| Card Reader | 4‑in‑1 card reader |
Insert the battery into the compartment at the bottom rear of the M10 and press the power button for about two seconds to turn it on.
Visit www.velocitymicro.com/warrantysignup to register your warranty.
Yes, you can connect an optional external optical drive via USB or share a networked drive through the "My Network Places" folder.
Visit the online support hub at www.velocitymicro.com/support for software installation help and user tips.