
Key facts
Start here
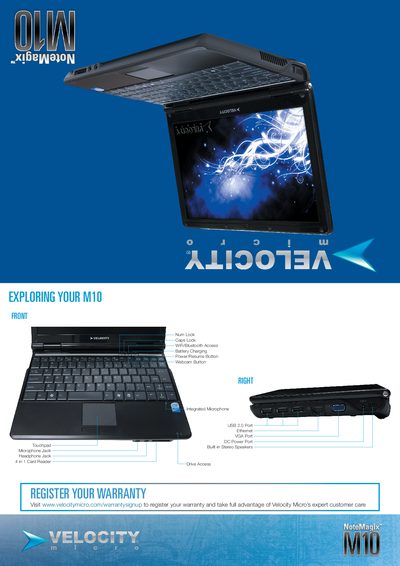
Velocity Micro NoteMagix M10 Quick Setup Guide
This quick start guide walks you through the essential steps to get your Velocity Micro NoteMagix M10 up and running. It includes instructions for inserting the battery, connecting external power, and turning the notebook on, as well as an overview of the available ports and built‑in features.
Additional sections explain how to register your warranty, connect an optional external optical drive via USB or network sharing, and where to find further support and software installation help on the Velocity Micro website.
Velocity M10 specifications
| Display panel | Color LCD with back‑lighting |
|---|---|
| Web camera | 1.3 MP built‑in camera |
| USB interface | USB 2.0 |
| LAN | RJ45 Ethernet port |
| Battery type | Li‑Ion |
| Operating temperature | 32 °F – 120 °F |
All Velocity M10 documents by type
Day-to-day operation, settings and troubleshooting. Start here if the product is already set up.
The shortest path to a working setup, usually only a few pages.
Questions answered in these manuals
How do I turn the M10 on and off?
Press the vPower button to power the notebook on or off; the same button also puts the device into sleep mode.
What should I do if the screen stays blank?
Press the hot key combination Fn + F5 to switch the display mode, and ensure the system is not in hibernation or standby.
How do I install the battery pack?
Insert the battery into the compartment at the bottom rear of the M10 and press the power button for about two seconds to turn it on.
Where can I register the warranty for my M10?
Visit www.velocitymicro.com/warrantysignup to register your warranty.