
This document introduces the installation steps of the 840 series printer, including safety information, unpacking, connecting the power cord, making sure the power is on, opening the paper support, extending the paper exit tray, opening the top cover, removing the transparent seal on the bottom of the print cartridge, opening the cartridge protection cover, inserting the print cartridge, closing the cartridge protection cover until it is snapped in place, etc.
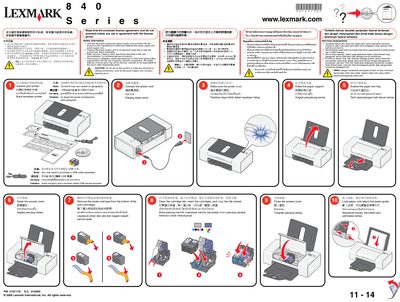
This manual covers safety information, proper power connection, unpacking, and step‑by‑step installation of the Lexmark 840 Series printer, including loading paper, installing cartridges, and connecting the USB cable. It also explains how to install the supplied software from the CD and provides links to online support.
A troubleshooting section helps resolve common issues such as a non‑lit indicator light, software installation problems, and power or USB connection errors. Contact information and warranty details are included for further assistance. This manual is written in Chinese.
| Part Number | 21G7178 |
|---|
Make sure the power cord is fully plugged into the printer's power supply and into a working electrical outlet, then press the power button.
Insert the supplied CD, follow the on‑screen instructions, and ensure the USB cable is securely connected between the printer and computer.
Visit the Lexmark support website at http://support.lexmark.com/ and select your country, then choose Technical Support, the printer family, and the model.