
Philips ASH2534CH/93 shower set user manual with part names, dimensions, installation steps, operating instructions, maintenance and troubleshooting.
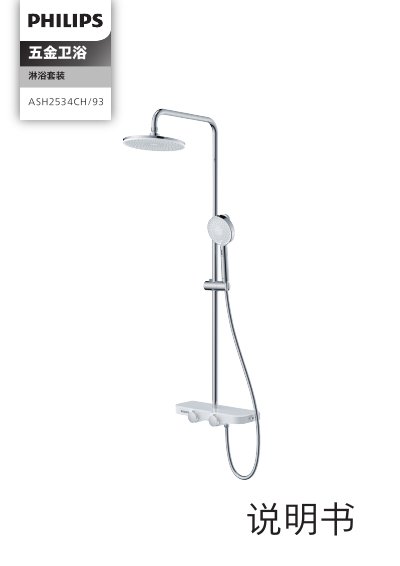
This Chinese-language user manual covers the Philips ASH2534CH/93 shower set. It lists the parts supplied, gives product dimensions, and walks through installation and use, followed by maintenance notes, a troubleshooting table, a packing list and a warranty card. The last page states the product is manufactured and sold under the responsibility of Guangdong AquaShield Health Technology Company Limited, which is also the warrantor, under license of the Philips trademark.
The manual states the set must be installed on a supply line with pressure below 0.5 MPa and inlet water temperature between 4 and 70 °C, on G1/2 female threaded wall connections spaced 150 mm apart with hot water on the left and cold on the right. Installation steps include fixing the wall bracket with expansion screws after drilling Ø6 mm holes 40 mm deep, fitting the vertical pipe, riser and shower holders, and connecting the hand shower hose and top spray. After installation, water is run for 3-5 minutes to confirm no connections leak, and the handwheel is then used to set temperature and switch between top spray, hand shower and lower outlet. This manual is written in Chinese.
| Supply water pressure | Below 0.5 MPa |
|---|---|
| Inlet water temperature | 4-70 °C |
| Wall pipe connection | G1/2 female thread, 150 mm spacing |
| Leg (curved foot) spacing after installation | 150 mm |
| Wall drilling | Ø6 mm drill bit, 40 mm deep |
| Recommended faucet installation height | 900-1200 mm from the floor |
It must be installed on a supply line with water pressure below 0.5 MPa. If inlet pressure exceeds 0.5 MPa, a pressure-reducing valve must be added (purchased separately).
The inlet water temperature must be within 4-70 °C. Above 70 °C the product can be damaged, and below 4 °C freezing can crack components and cause leaks.
Run water for 3-5 minutes and confirm that no connection point leaks before normal use.
Using an Ø6 mm drill bit, drill 40 mm deep holes at the marked positions, insert the expansion screws, then secure the wall bracket with the self-tapping screws.