
Installation manual for Paramount Spa Jets (Parajets) covering air line plumbing, venturi tee requirements, jet placement, and startup steps.
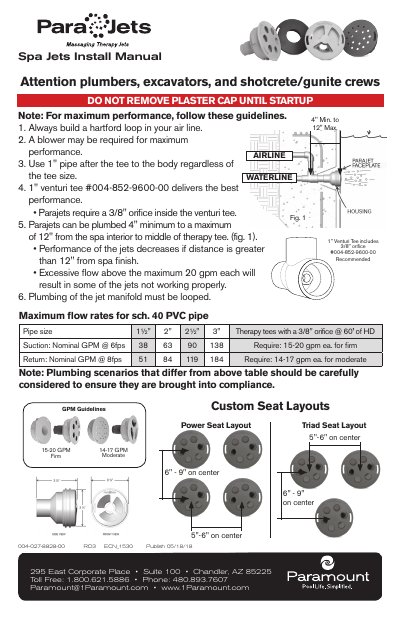
This installation manual from Paramount (Chandler, Arizona) covers the Spa Jets, also called Parajets, used in gunite and shotcrete spas. It is addressed to plumbers, excavators, and shotcrete/gunite crews and carries document number 004-027-8828-00 (RO3 ECN_1530, published 05/18/18).
The guide explains how to build a hartford loop in the air line, run 1" pipe after the tee to the body, and use the 1" venturi tee #004-852-9600-00 with its 3/8" orifice. Jets must be plumbed 4" to 12" from the spa interior, with 15-20 gpm each for firm action or 14-17 gpm each for moderate action. A six-step sequence - plumbing, steel, gunite/shotcrete, set body, interior finish, and start up - covers plaster cap handling, gluing, rebar clearance, and face plate installation.
| Orifice size | 3/8" inside the venturi tee |
|---|---|
| Recommended venturi tee | 1" venturi tee #004-852-9600-00 |
| Pipe after the tee | 1" pipe regardless of tee size |
| Jet placement from spa interior | 4" minimum to 12" maximum to middle of therapy tee |
| Flow required per jet (firm) | 15-20 gpm each |
| Flow required per jet (moderate) | 14-17 gpm each |
| Maximum flow per jet | 20 gpm |
| Sch. 40 PVC suction flow, 1½"-3" pipe | 38 / 63 / 90 / 138 nominal GPM @ 6 fps |
| Rebar clearance | at least 3", no tie wires |
| Pipe stub extension | 3" to 4" past the finished wall |
4 inches minimum to a maximum of 12 inches from the spa interior to the middle of the therapy tee. Jet performance decreases if the distance is greater than 12 inches from the spa finish.
15-20 gpm each for firm performance or 14-17 gpm each for moderate. Flow above the 20 gpm maximum per jet can cause some jets to not work properly.
The 1" venturi tee #004-852-9600-00, which includes a 3/8" orifice, is recommended for the best performance.
Do not remove the plaster cap until startup. Leave it locked in place until the end of the plaster install, then remove it, blow out all lines, and install the face plates.