
Step-by-step guide for replacing the heat sink and thermal paste in a Microsoft Surface Pro 4, including tools, screen removal, and reassembly.
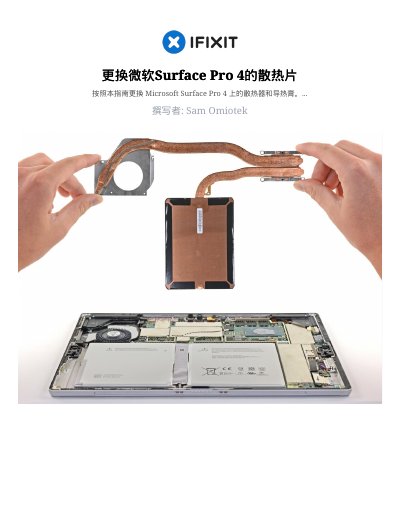
This guide explains how to replace the heat sink and thermal paste in a Microsoft Surface Pro 4. It warns that the display panel is fragile and unbraced, and that the screen and built-in battery can be damaged by heat.
The procedure covers taping the screen, heating and cutting the screen adhesive, removing the display, unscrewing the heat sink and fan, and lifting the heat sink off the CPU. Reassembly follows the steps in reverse, with cleaning of the heat sink and CPU and application of new thermal paste. This manual is written in Chinese.
| Heat sink screw sizes | 2.4 mm and 2.2 mm |
|---|---|
| Fan screw sizes | Three 2.4 mm screws and one 4.4 mm screw |
| Pick insertion depth at speaker opening | 0.45 inch (12 mm) maximum |
| Pick insertion depth at lower right corner | 0.25 inch (6 mm) maximum |
| iOpener heating time per edge | Two minutes |
The guide lists an iOpener, a set of six iFixit Opening Picks, a Spudger, Tweezers, a T5 Torx Screwdriver, a T3 Torx Screwdriver, and a Phillips #00 Screwdriver.
Apply overlapping strips of clear packing tape over the entire screen to hold glass fragments together and add structural support while prying the screen up. Wear safety glasses to protect your eyes.
Reassemble the device by following the steps in reverse, and make sure to properly clean the heat sink and CPU and apply new thermal paste.
Use the flat end of a spudger to gently pry the heat sink straight up from the CPU, taking care not to dent or crease the heat sink pipes.