
Installation guide for the CU403 display, covering DIP switch settings, initial testing, LED indicators, menu navigation and input mode configuration.
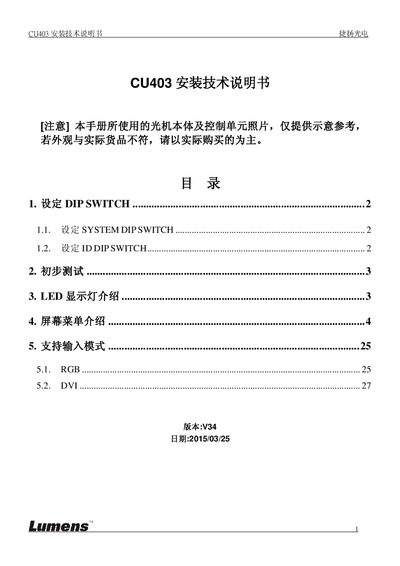
This guide explains how to install and configure the CU403 display. It details the DIP switch settings for system and ID configuration, initial power‑on tests, and interpretation of LED status codes.
The manual also describes the on‑screen menu navigation, color and projection adjustments, and supported input modes such as RGB and DVI, including resolution tables for each mode. This manual is written in Chinese.
| LED indicator A0 | CU Standby |
|---|---|
| Color adjustment R‑R range | -127 ~ 0 |
| Supported RGB resolution (example) | 640x480 @60 Hz |
| Supported DVI resolution (example) | 1920x1080 @60 Hz |
Press the [Menu] key on the remote control to display the screen menu.
LED code A0 means the unit is in CU Standby.