
Step-by-step guide for connecting an IROAD dash cam to IROAD Cloud using the IROAD Cloud app, Bluetooth, and Wi-Fi registration.
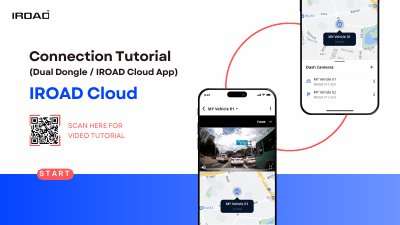
This tutorial explains how to connect an IROAD dash cam to IROAD Cloud. An active internet connection is required, such as car Wi-Fi, an LTE modem, a smartphone hotspot, or home/office Wi-Fi. The dash cam normally starts in Wi-Fi Mode, which is needed for Cloud registration; the tutorial notes not to use the IROAD SMART VIEW app for this Cloud setup.
The steps cover downloading the IROAD Cloud app from Play Store or App Store, turning on the dash camera, signing in or signing up, starting Wi-Fi tethering, turning on Bluetooth, pressing the Wi-Fi Registration button, selecting the dash cam, entering a vehicle name, and waiting for the “Cloud is connected” message and a blue icon in the app.
| Operating modes | Wi-Fi Mode and Cloud Mode |
|---|---|
| Cloud connection requirement | Active internet connection |
| App availability | Play Store (Android) and App Store (iOS) |
The dash cam needs an active internet connection, such as car Wi-Fi, an LTE modem, a smartphone hotspot, or home/office Wi-Fi.
Use the IROAD Cloud app, not the IROAD SMART VIEW app.
Press the Wi-Fi Registration button for about 5 seconds until you hear “Switched to Wi-Fi Mode”.
Wait 20–40 seconds until you hear “Cloud is connected” and the icon in front of the dash cam’s name turns blue.