
Installation, maintenance and service parts instructions for Dorner 2200 retro fit tails used on 2100 Series conveyors.
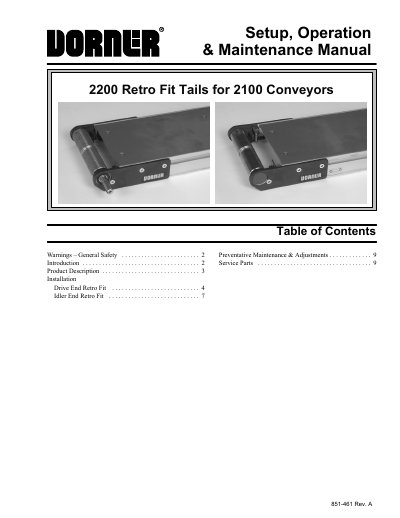
This is Dorner's Setup, Operation & Maintenance Manual (851-461 Rev. A) for 2200 Retro Fit Tails for 2100 Conveyors. It opens with general safety warnings about lockout of power, exposed moving parts, hot gearmotors, riding on conveyors and supporting conveyor sections before loosening stand adjustment screws. A product description then lists the typical drive end and idler end retro fit components, such as slide bars, head plates, pulleys, pulley bearings, taper screws and bearing covers, keyed to figures.
The installation section is split into a drive end retro fit and an idler end retro fit, with numbered steps for inserting slide bars into the 2100 frame, fitting bearings into the head plates, pressing bearings onto the drive or non-drive shaft, tightening fastening screws to 60 in-lbs (7 Nm) and pulley taper screws to 35 in-lbs (4 Nm) with a 4 mm hex key, and installing bearing covers. Belt installation, tensioning and tracking refer to manual 851-452; preventive maintenance and service parts also refer to that manual. The last page gives Dorner's return policy and contact addresses.
| Head plate and fastening screw torque | 60 in-lbs (7 Nm) |
|---|---|
| Pulley taper screw torque | 35 in-lbs (4 Nm) |
| Hex key wrench size | 4 mm |
| Bearing installation tool part number | 450292 |
| Press fit aid tool part number | 450282 |
The fastening screws on both sides of the conveyor are tightened to 60 in-lbs (7 Nm).
The manual refers to the 2200 Series End Drive Conveyor Setup, Operation and Maintenance manual, part number 851-452.
A bearing installation tool, part number 450292, is used to press the bearing onto the drive shaft.
It is described in manual 851-061, 2100 Series End Drive Conveyors, under Conveyor Belt Replacement Procedure.