
An introductory guide that explains the Arduino UNO board, its components, power options, breadboard use, and basic programming with the IDE.
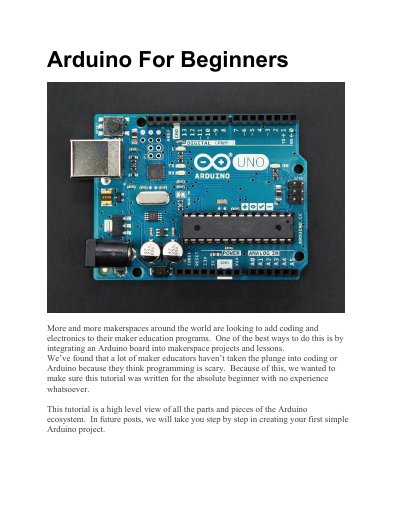
This guide introduces the Arduino UNO board for absolute beginners, covering its hardware layout, power supply methods, and how to set up a simple circuit on a breadboard. It also walks users through installing the Arduino IDE and uploading their first sketch.
Key sections include a board breakdown, power supply options (USB, 9 V battery, 9 V AC), breadboard basics, programming steps, and troubleshooting tips to help educators and makers get started quickly.
| 5V Pin | Supplies 5 volts |
|---|---|
| 3.3V Pin | Supplies 3.3 volts |
| USB Connection | Used for powering up the board |
| DC Power Barrel Jack | Power input via external supply |
| Voltage Regulator | Controls voltage into the board |
The board can be powered through a USB cable, a 9 V battery pack, or a 9 V AC power supply.
Open the Arduino IDE, click the verify button, then click the upload button to send the program to the board.
The board includes a reset button, AREF pin, ground pins, digital I/O pins, PWM pins, USB connection, TX/RX LEDs, ATmega microcontroller, power LED, voltage regulator, DC power barrel jack, 3.3 V and 5 V pins, and analog pins.