
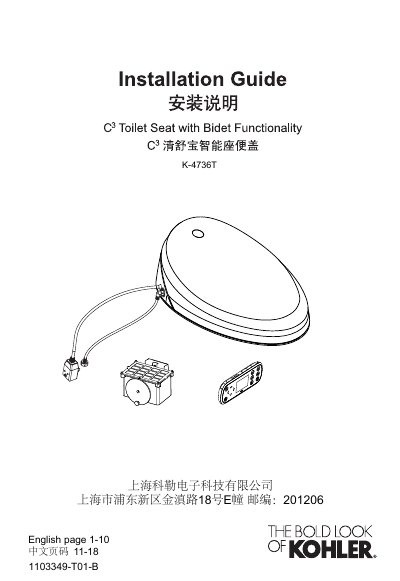
This guide provides step‑by‑step instructions for installing the Kohler 1103349‑T01‑B toilet, including required rough‑in measurements, mounting of the remote controller holder, and fitting of the flushing actuator. It also details power connection and functional testing procedures.
Key sections cover rough‑in spacing, remote holder mounting with 6 mm drill holes deeper than 45 mm, flushing actuator installation with metal chain adjustment, and final trial run using a damp cloth to verify the seat sensor and auto‑flush functions.
| Distance between installation holes | 136‑140 mm |
|---|---|
| Distance between installation holes and tank front rim | >20 mm |
| Distance between installation holes and bowl inner rim | 70 mm |
| Distance between installation holes and tank top rim | 460‑490 mm |
| Bowl inner diameter | 370‑390 mm |
The installation holes must be 136‑140 mm apart, with >20 mm to the tank front rim, 70 mm to the bowl inner rim, and 460‑490 mm to the tank top rim; the bowl inner diameter is 370‑390 mm.
Select an accessible location, drill two 6 mm diameter holes deeper than 45 mm, insert expansion tubes, fix the holder with screws and double‑sided tape, then attach the remote controller.
Plug in the power cord, press the power button, place a damp cloth in the seat sensor area to simulate occupancy, and confirm the auto‑flush operates correctly before removing the cloth.