
This document describes how to upgrade the axle of a 2014 V12 Ti pedal to a Ti axle.
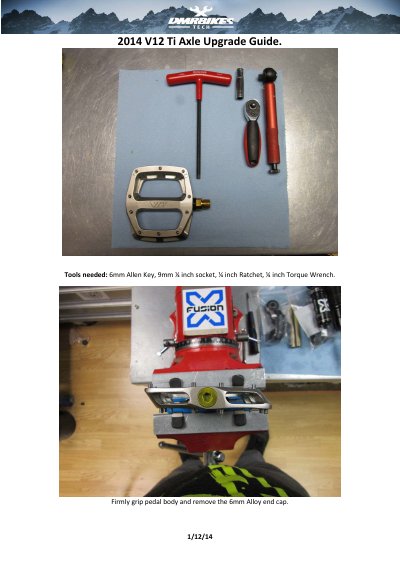
This guide explains how to replace the axle on a 2014 V12 Ti pedal. It lists the tools needed, then walks through removing the 6mm alloy end cap, taking off the 9mm nut and pulling the two rubber seals from the old axle.
The new Ti axle is fitted by sliding the two rubber seals onto it, applying a thin layer of grease around the bushing contact patch, and sliding the pedal body back over the axle so it protrudes through the cartridge bearing. The 9mm nut is threaded back on and torqued to 10Nm maximum before the end cap is refitted. A note explains how to undo the nut without a vice, and the part number of the new axle is given.
| Maximum torque on the 9mm nut | 10Nm |
|---|---|
| Axle end Allen fitment | 6mm Allen |
| Tools needed | 6mm Allen key, 9mm 1/4 inch socket, 1/4 inch ratchet, 1/4 inch torque wrench |
| Right-hand pedal nut | Silver left-hand thread nut |
| Part number of new axle | DMR-S12-XLT-PR-V2 |
You need a 6mm Allen key, a 9mm 1/4 inch socket, a 1/4 inch ratchet and a 1/4 inch torque wrench.
Thread the 9mm nut back onto the axle and torque it to 10Nm maximum.
The axles have a 6mm Allen fitment on their ends that can be used to undo the 9mm nut.
The right-hand pedal has a silver left-hand thread nut.