
Arctic Stone 1800 Installation Guide

An installation guide for Arctic Stone
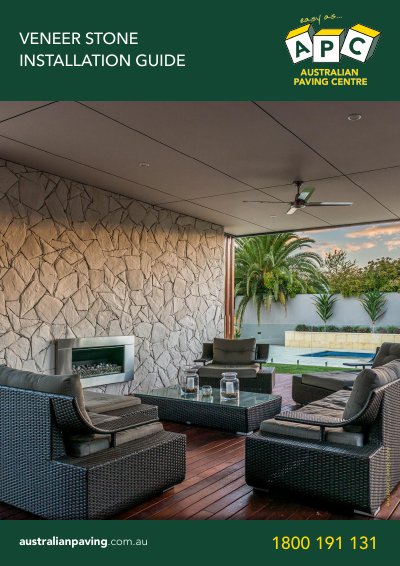

Arctic Stone 1800 Installation Guide - cover page
Brand
Arctic Stone
Category
Other
Document type
Installation Guide
Language
English
Pages
7
File format
PDF
File size
1.1 MB
Published
20 October, 2023
Updated
20 October, 2023
MD5 checksum
1ADEDE33864E81B1335FF41F7D9A9760

About this manual

This guide provides step-by-step instructions for installing Arctic Stone 1800 limestone veneer, including dry joint and mortar joint techniques. It covers preparation of surfaces, cutting tools, sealing options, and tips for achieving a natural stone look. The guide also includes installation tips for dressed edge, dry stacked, and ledgestone styles, with advice on color, texture, and spacing to enhance the natural appearance of the stone wall.

What's inside

  • Installation Tips
  • Dry Joint Installation
  • Mortar Joint Installation
  • Dressed Edge Installation
  • Dry Stacked Installation
  • Ledgestone Installation
  • Surface Preparation
  • Cutting Tools
  • Sealing Options
  • Corner Installation

Frequently asked questions

What is the maximum allowable deflection for the wall substrate before installing the stone?

The substrate must be plumb and true to within 1/8" in 10' (3mm in 3m) and 1/16" in 1'.

How should the joints be spaced when installing the Arctic collection with mortar?

The collection is designed to be installed with an 8-12mm mortar/grout joint.

What tool is recommended for cutting the stone panels?

The stone panels can be cut using a wet saw, hammer & bolster, wide mouth nippers, or an angle grinder with a diamond blade attached.

Download PDF (1.1 MB)