
Explains how to use the product, including installation, connecting to Wi-Fi, and setting up the device
This guide walks you through installing the OTA Node, connecting it to Wi-Fi, and configuring cloud settings. It includes steps for drilling holes, mounting components, and setting up user accounts and alarms. The document also explains how to connect the node to a facility’s Wi-Fi network and configure notification preferences.
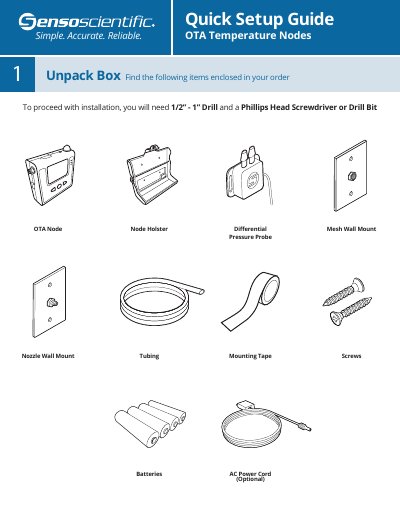
The package includes a Quick Setup Guide, OTA Temperature Nodes, OTA Node, Node Holster, Differential Pressure Probe, and Mesh Wall Mount.
You will need a 1/2” - 1” drill and a Phillips head screwdriver or drill bit nozzle.
Download the SensoScientific app, attach the probe, turn on the node, set it to provisioning mode, connect your phone to the node’s Wi-Fi network, then use the app to connect to your facility’s Wi-Fi.
The display screen shows Wi-Fi, Internet, Cloud, Buffering, Firmware Version, Power Supply, Alarm, Speaker, Battery, Minimum, Maximum, and MAC Address status.