
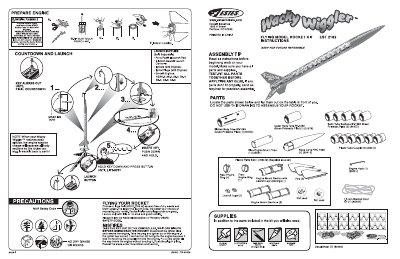
Estes 2182 Wacky Wiggler Model Rocket Assembly and Launch Instructions


Estes 2182 Wacky Wiggler Model Rocket Assembly and Launch Instructions - cover page
Brand
Estes
Category
Other products
Document type
User Manual
Language
English
Pages
2
File format
PDF
File size
1.5 MB
Published
09 August, 2012
Updated
15 August, 2012
MD5 checksum
55D3BEF16FE103F3FB1E0C4B1DF4D9F6

About this manual

This document provides step-by-step instructions for assembling the Estes 2182 Wacky Wiggler model rocket. It covers identifying parts, gluing the engine mount, attaching body tubes, installing fins and the nose cone, and applying decals. The guide emphasizes using plastic cement and sanding parts for a precise fit before assembly.

What's inside

  • Prep Engine
  • Masking
  • Countdown and Launch
  • Launch Supplies
  • Assembly Tip
  • Parts
  • Supplies
  • Assemble Engine Mount
  • Attach Body Tube Sections
  • Install Engine Mount, Launch Lugs & Fins

Frequently asked questions

What happens when the Wacky Wiggler reaches its peak altitude?

The engine ejection charge separates all body sections so the rocket can wiggle wackily back to earth.

What is the minimum recommended size for the launch area?

You should choose a large field that is 500 ft. [152 m] square.

How far apart should the knots in the braided cord be spaced?

The knots in the cord must be spaced at 12" (30.5 cm) apart.

Download PDF (1.5 MB)

More Estes Manuals


View all Estes manuals →