
This document is an instruction for assembling a warbird drop tank, including steps such as sanding, trimming, and bending steel wire.
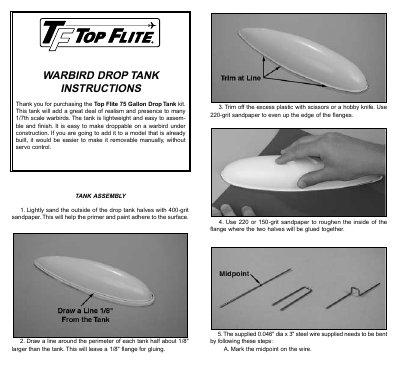
This manual provides step-by-step instructions for assembling the Top Flite 75 Gallon Drop Tank. The process includes preparing the plastic halves by sanding and trimming, bending a steel wire into a U-shaped release loop, gluing components with epoxy and CA, and balancing the tank with optional nose weight.
The second half of the document covers the installation of the drop tank onto a model warbird. It details how to reinforce the wing area, mount the release mechanism using specific screws, route a flexible cable from the servo to the release tab, and adjust the tank's position for proper aerodynamic attitude.
The kit is for a 75 gallon drop tank.
You should lightly sand the outside with 400-grit sandpaper.
The supplied wire is 0.046" in diameter and 3" long.