
This is an installation manual that describes how to install the PMT-L11 and PMT-H15 ceiling brackets.
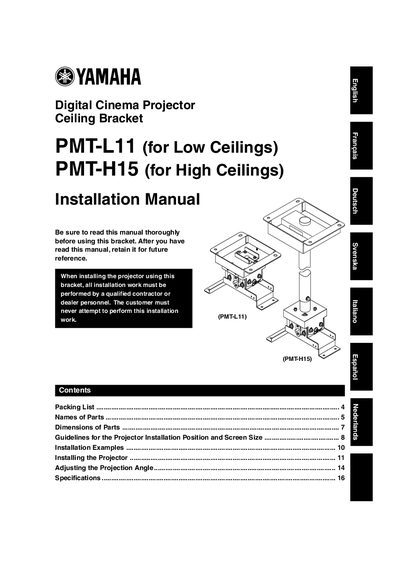
The document is an installation manual for the Yamaha PMT-L11 (for low ceilings) and PMT-H15 (for high ceilings) Digital Cinema Projector Ceiling Brackets. It details safety instructions, packing lists, part names, and specific guidelines for determining the projector installation position relative to screen size.
| Height (PMT-L11) | 94 mm (3-11/16 inch) fixed |
|---|---|
| Height (PMT-H15) | 789 to 1359 mm (variable in 30-mm steps) |
| Horizontal angle adjustment | +/- 10 degrees |
| Tilt angle adjustment | +/- 10 degrees |
| Weight (PMT-L11) | 2.2 kg (4 Ibs 14 oz) |
| Weight (PMT-H15) | 4.0 kg (8 Ibs 13 oz) |
All installation work must be performed by a qualified contractor or dealer personnel; customers must never attempt this.
The manual requires leaving enough open space to allow heat generated by the projector to dissipate, but it does not specify a measurement.