
This manual describes the installation of the PMT-L31 (for Low Ceilings) and PMT-H35 (for High Ceilings) ceiling mount brackets.
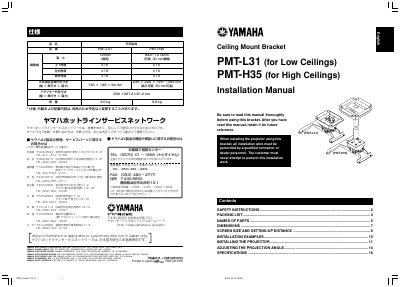
This document is the installation manual for the Yamaha PMT-L31 (for low ceilings) and PMT-H35 (for high ceilings) ceiling mount brackets. It includes safety instructions, a packing list, part names, and detailed diagrams for both models. The guide specifies that installation must be performed by a qualified contractor or dealer personnel.
| Vertical angle adjustment | +15° |
|---|---|
| Horizontal angle adjustment | +10° |
| Tilt angle adjustment | +10° |
| Weight (PMT-L31) | 3.0 kg (6 Ibs 10 oz) |
| Weight (PMT-H35) | 6.2 kg (13 Ibs 11 oz) |
All installation work must be performed by a qualified contractor or dealer personnel.
No, you must always remove the projector from the ceiling bracket before replacing the lamp cartridge.