
This is a quick start guide that introduces how to install and use Nikon Capture NX software.
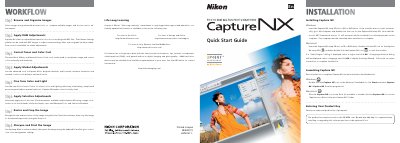
The guide explains how to install Capture NX on both Windows and Macintosh systems. Insert the Capture NX setup CD, run the installer, and follow the on‑screen prompts; Microsoft .NET Framework 1.1 is installed automatically on Windows. On a Mac, double‑click the CD icon and then the Capture NX icon to start the installer, select your region and language, and complete the Setup Wizard.
After installation, the guide walks you through the workflow: browsing and organizing images, applying RAW adjustments, correcting tones and color casts with Control Points, making global and selective adjustments, resizing, cropping, sharpening, and finally printing the image. Toolbar descriptions and shortcuts are also provided for efficient editing.
| Required .NET Framework | Version 1.1 |
|---|---|
| Supported operating systems | Windows, Macintosh |
Insert the Capture NX setup CD, double‑click the CD icon, and follow the Setup Wizard; .NET Framework 1.1 will be installed automatically if needed.
The product key is printed on the CD‑ROM case and is required for installation or upgrade.