
This document is part of the C5-501 service manual, which mainly describes the disassembly steps of the product system of the DHR200 model, including the disassembly process of components such as the battery pack, keyboard, CPU, HDD module, DVD-ROM drive, and wireless card.
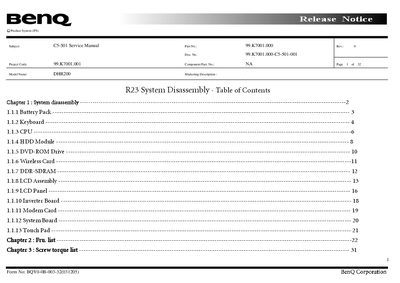
This service manual provides step‑by‑step instructions for disassembling and reassembling the BenQ DHR200 notebook. It details the removal and replacement procedures for major components such as the battery pack, keyboard, CPU, HDD module, LCD assembly, inverter board, modem card, and touch pad.
The document also includes a comprehensive screw‑torque list for various assemblies, ensuring proper torque values are applied during maintenance. Safety notes remind users to power off the notebook and disconnect peripherals before beginning any work.
| CPU cover torque | 1.5~2.0 Kgf.cm |
|---|---|
| Top shielding torque | 1.0~1.5 Kgf.cm |
| LCD bracket torque | 1.0~1.5 Kgf.cm |
Slide the two release levers outward to the “unlock” position and then lift the battery pack out of its compartment.
Apply a torque of 1.5 to 2.0 Kgf·cm when fastening the CPU cover.
First remove the battery pack, then push the keyboard cover to release the locks, lift the cover, disconnect the cable, and lift the keyboard out.
Align the arrowhead corner of the CPU with the beveled corner of the socket, insert the pins, secure the lever, reconnect the fan power cord, and fasten the heatsink with four spring screws.