
This guide explains how to use the EPSON Stylus Photo 1290/890 printer, including the package contents, unpacking the printer, attaching the paper support adapter, attaching the roll paper holder and paper support, plugging in and connecting the printer, installing the printer software, and installing the ink cartridges.
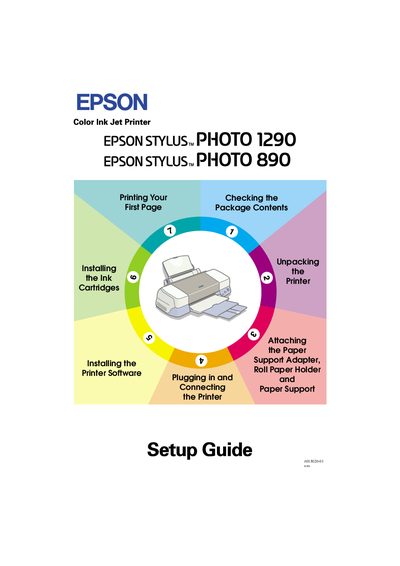
This guide walks you through unpacking the Epson Stylus Photo 1290/890 printer, attaching the paper support adapter, and preparing the printer for use. It includes detailed instructions for connecting the printer to a PC via parallel or USB cables and explains the differences for Macintosh users.
The manual also covers installing the printer driver and utilities from the supplied CD‑ROM on Windows and Mac systems, configuring print settings, and troubleshooting common issues with the EPSON Status Monitor and Problem Solver tools.
| Supported interfaces | Parallel or USB |
|---|---|
| Macintosh connection | USB only |
| Power cord | May be attached to the printer |
| Paper support adapter orientation | Arrows face front of printer |
| Parallel cable requirement | Shielded, twisted‑pair |
Use either a parallel cable or a USB cable as described; the printer supports both interfaces.
Insert the supplied CD‑ROM, run EPsetup.exe, and follow the on‑screen prompts to install the driver and utilities.
Turn on the Mac, insert the CD, open the Install Printer Driver/Utility folder, and run the installer.
Align the arrows on the adapter toward the front of the printer and insert it into the rear slot.