
This quick start guide introduces how to set up a camera, connect it to a computer, connect a monitor, connect a microphone and speaker system, connect external devices, install recording media, turn on the camera, and access the camera from a computer's Web browser.
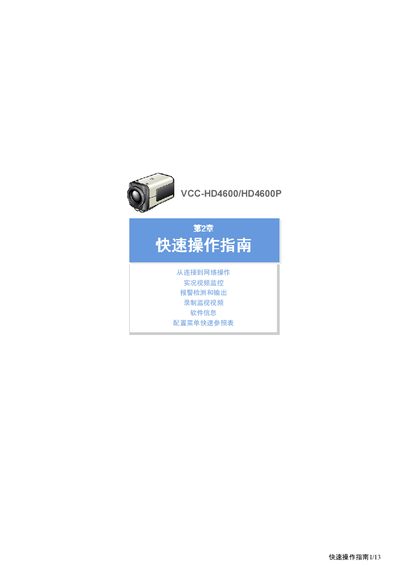
This guide shows how to connect the VCC HD4600/HD4600P camera to a network, power it, and start live video monitoring. It also explains how to install recording media such as an SD card or external hard drive and how to access the camera from a web browser.
Further sections cover video and audio settings, digital PTZ operation, alarm detection and output configuration, and a quick‑reference menu for advanced options like firmware updates, backup, and log viewing. This manual is written in Chinese.
| Power supply | 24‑VAC or 12‑VDC |
|---|---|
| Video resolution | 1280x720 |
| Frame rate | 30 fps |
| Aspect ratio options | 16:9 (default) or 4:3 |
| Audio input | External microphone via AUDIO IN jack |
| Audio output | External speaker via AUDIO OUT jack |
| Recording media | SD memory card or external HDD |
Use a 24‑VAC or 12‑VDC power source.
After installing the media, format it. Insert an SD card into its slot or connect an external HDD to the EX‑HDD terminal before formatting.