
FLEXUS FX100 Audio Analyzer is a professional audio measurement, analysis and evaluation device. Equipped with advanced analog and digital signal processing technology, this instrument meets the needs of professional and audio engineers.
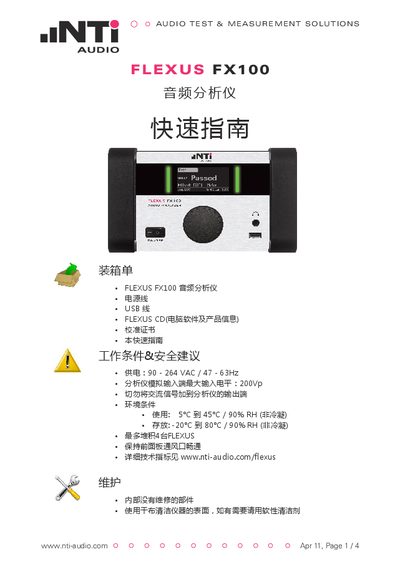
The FLEXUS FX100 audio analyzer is supplied with power and USB cables, a CD containing software, and a calibration certificate. This guide covers unpacking, safety advice, power requirements, and basic operation of the device.
It explains how to install the software from the CD, connect the analyzer to a PC via USB, perform firmware upgrades, set date and time, and configure headphone output options. Contact information for NTI Audio support locations worldwide is also provided. This manual is written in Chinese.
| Power Supply | 90‑264 VAC, 47‑63 Hz |
|---|---|
| Maximum Analog Input Level | 200 Vp |
| Operating Temperature Range | 5 °C to 45 °C, 90 % RH (non‑condensing) |
| Storage Temperature Range | -20 °C to 80 °C, 90 % RH (non‑condensing) |
| Fuse Rating (FX100) | 1.6 A |
Insert the FLEXUS CD into the computer, open the CD folder and double‑click setup.exe, then follow the on‑screen prompts.
Download the *.fxu file to a USB drive, connect the drive to the analyzer, then select SYSTEM → =VER → FW‑UPDATE and choose the file to start the automatic upgrade.
Navigate to SYSTEM → =TIME in the menu and enter the correct date and time values.