
This document provides installation instructions, Web management interface login steps, and warranty information for TP-LINK infrared network cameras.
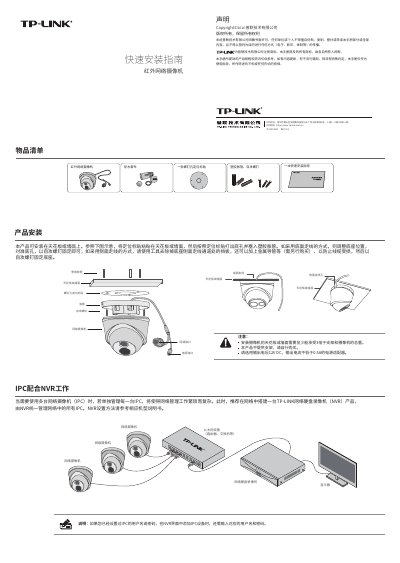
This manual covers the installation of the TP-LINK infrared network camera, including mounting on ceilings or walls using the provided positioning sticker and screws. It details the required power adapter specifications (12V DC, 0.5A minimum) and notes that the bracket must be purchased separately. The camera supports both bottom-wiring and side-wiring configurations. This manual is written in Chinese.
| Power Adapter Output Voltage | 12V DC |
|---|---|
| Power Adapter Output Current | not less than 0.5A |
| Default Management IP Address | 192.168.1.60 |
| Default Username | admin |
The default management address is 192.168.1.60.
The default username is admin.
No, the product does not provide a bracket; it must be purchased separately.