
Quick installation guide for TP-Link EAP wireless wall plate access point, including mounting, PoE setup, and configuration via Omada App or web browser.
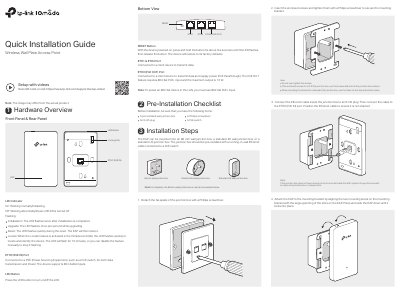
This guide walks you through mounting the TP-Link EAP into a wall junction box and connecting it to a PoE switch. It covers setup in standalone mode using the Omada App or web browser, and controller mode for managing multiple access points. The device supports 802.3af/at PoE and has a reset button for factory defaults.
Hardware includes ETH0 (PoE IN), ETH1 & ETH2 (data), and ETH3 (PoE OUT) ports. LED indicators show status, and the device can be configured via default SSID or web interface for basic or advanced settings.
| PoE Input | 802.3af/at |
|---|---|
| PoE Output | 13 W |
| Mounting Compatibility | 86 mm wall junction box, standard EU wall junction box, standard US junction box |
With the device powered on, press and hold the RESET button for about five seconds until the LED flashes, then release the button.
ETH0 (PoE IN), ETH1 & ETH2 (data), and ETH3 (PoE OUT).