
This manual provides installation, wiring and operation instructions for the Takegawa D‑TYPE LCD speed and tachometer kit.
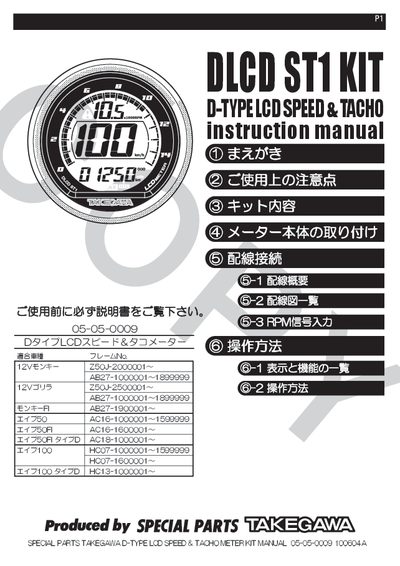
The manual begins with a preface and safety warnings, advising users to have the proper tools, sufficient skill, and to avoid work on hot engines or in confined spaces. It stresses that improper installation or use of non‑approved parts voids the warranty.
Subsequent sections cover the kit contents, step‑by‑step meter mounting, detailed wiring diagrams for both DC‑12 V battery and AC‑12 V battery‑less vehicles, and configuration of RPM signal inputs, speed correction, and backlight brightness. The document also includes troubleshooting advice and adjustment procedures.
| Body size | ≈150 mm |
|---|---|
| Power input | DC 12 V or AC 12 V |
| RPM code A cable length | ≈600 mm |
| RPM code B cable length | ≈550 mm |
Prepare the necessary tools, ensure you have basic mechanical skills, work on a stable, level surface, and avoid installing while the engine or exhaust is hot.
Remove two screws to detach the headlight case, disconnect the headlight connector, then remove the cable lock nut and pull the meter cables before installing the LCD meter.
The meter can be powered from a 12 V battery (DC) or from an AC‑12 V source in battery‑less vehicles.