
Moteck ID12 actuator user manual covering safety, manual drive, wiring, limit switches and position feedback.
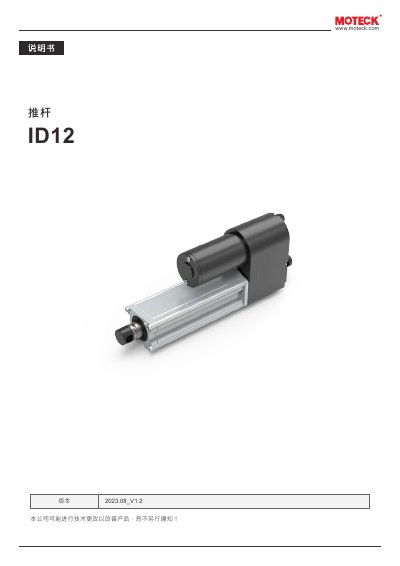
This manual is for the Moteck ID12 actuator. It explains safety precautions, including avoiding side loads and overload conditions, and describes manual drive using an 8 mm hex tool when no power is available.
It also provides wiring rules for basic, limit-switch, potentiometer, Hall sensor and external adjustable reed sensor versions, including polarity, signal definitions and feedback characteristics. This manual is written in Chinese.
| Ball screw maximum torque | 6 kg-cm at 4500 N load |
|---|---|
| Potentiometer specification | 10KΩ, 10 turns |
| Potentiometer total resistance tolerance | ±5% |
| Potentiometer type input voltage | 70 V max. |
| Hall sensor input voltage range | 5 to 20 V |
| Hall sensor signal resolution | 20 ppi, 1.27 mm/pulse (0.787 pulses/mm) |
Remove the rubber plug from the gearbox cover, drive the actuator with a metric 8 mm hex tool, then reinstall the rubber plug.
The clutch disengages motor power; remove or avoid obstacles and ensure the operating load is equal to or less than the rated load.
Connect the red wire to DC power Vdc+ and the black wire to Vdc- to extend the actuator; reverse the polarity to retract it.
Loosen the two screws on the sensor, slide it to the correct position, then tighten the screws and confirm it is fixed.