
Quick start guide for the Polycom OBi300 ATA on Intermedia Cloud PBX: cable connections, fax settings, Control Panel setup and 911 address updates.
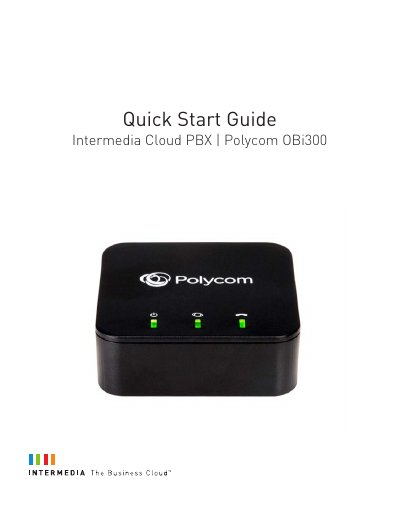
This quick start guide explains how to set up a Polycom OBi300 ATA (Analog Telephone Adapter) for the Intermedia Cloud PBX service so an existing fax machine can send and receive faxes over the Cloud PBX network. It lists the box contents (OBi300 ATA, Ethernet cable, DC power adapter), shows the front and rear of the unit, and walks through connecting the fax machine, the network and the power supply.
The guide then covers fax machine configuration for best performance, sending and receiving faxes, and using the Control Panel at intermedia.net to log in, update outbound caller ID, update the 911 address and view call history. Support contact details and the document number POLYCOMOBI300-QS-001 appear on the last page.
| Fax/phone port | RJ-9 telephone cord into the green phone port on the ATA |
|---|---|
| Network connection | Included Ethernet cable from the Internet port to a switch or router |
| Recommended fax speed | 9600 or the lowest possible speed |
| Error Correction Mode (ECM) | Disable this function if the fax machine has it |
Plug one end of an RJ-9 telephone cord into the green phone port on the ATA and the other end into the Line port on your fax machine.
Check the fax machine's speed (sometimes called Baud Rate) and set it to 9600 or the lowest possible speed.
Go to http://www.intermedia.net/login, click the 'For admins' tab, enter the Account Owner's user name and password and press the 'Login' button.
In the Control Panel, open the Devices tab, click the ATA link, open the '911 Address' tab, update the address, read the 911 Policy and Limitations, check the box and click 'Save changes'.