
Installation guide for the HP Retail RP7 10.4-inch customer display, covering panel removal, cable connection, mounting, front-panel controls, and OSD menu…
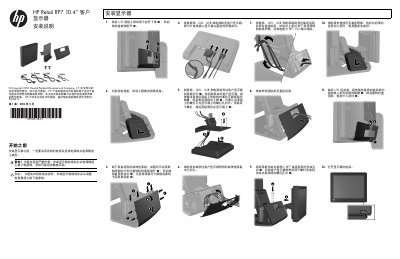
This guide describes how to install the HP Retail RP7 10.4-inch customer display onto the RP7 system, including removing the rear I/O cover and decorative panels, routing and connecting audio, DVI, USB, and power cables, and securing the display to the base with screws.
It also explains the front-panel touch controls and the on-screen display (OSD) menu, with sections on brightness, contrast, color, image control, OSD control, management, language, information, factory reset, and source control. An optional stand with Low-Mount and High-Mount positions is mentioned. This manual is written in Chinese.
| OSD menu items | Brightness, Contrast, Color, Image Control, OSD Control, Management, Language, Information, Factory Reset, Source Control, Exit |
|---|---|
| Default OSD language | English |
| Default video input | DVI |
| Optional stand positions | Low-Mount or High-Mount |
| Power LED states | Green = full power, amber = sleep mode, off = power off or LED disabled in OSD |
Turn on the system, then touch the Menu icon on the display front panel to open the OSD main menu.
The display supports DVI, USB, audio, and VGA inputs. The factory default video source is DVI.
HP offers an optional stand that supports two mounting positions: Low-Mount and High-Mount.